How to Install Outdoor Speakers: A Professional Guide
Imagine hosting friends on your Center Valley patio, with seamless, high-quality music enhancing the atmosphere. Installing outdoor speakers is more than just placing a portable unit on a table. It requires professional planning, careful wiring, and strategic placement to create an immersive soundscape that becomes a core feature of your home.
This guide explores the design-first approach Kennedy Design + Build takes to integrate high-end audio into outdoor living spaces across the Lehigh Valley.
Creating Your Ultimate Outdoor Soundscape
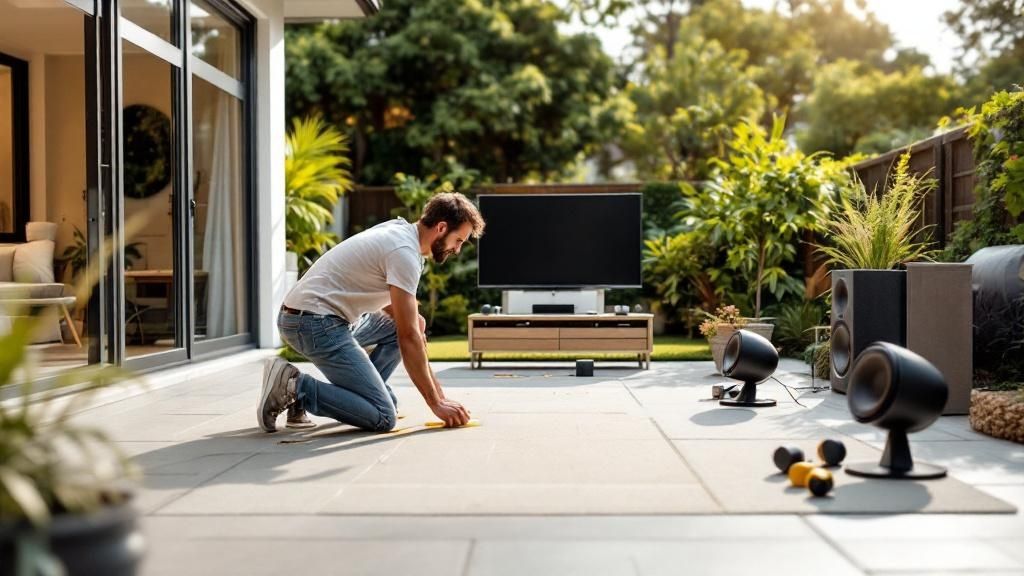
Superior audio is a key element of modern landscape design. It bridges the gap between your home’s interior comfort and the natural beauty of your backyard, transforming a simple patio into a sophisticated entertainment venue. This process begins with a clear vision for how you want to experience sound in your space.
The goal isn’t just volume; it’s creating an environment where music feels present everywhere, without any single speaker being overwhelming. This nuanced approach is what separates a DIY setup from a thoughtfully designed audio system that complements a high-end outdoor living space. It’s a true investment in your property’s lifestyle and value.
To get started, it helps to think through the key phases of the project. Here’s an overview of what our team considers for every installation.
Outdoor Speaker Installation Quick Overview
This table outlines the key considerations for planning and executing a high-end outdoor audio system installation.
| Planning Phase | Key Objective | Best Practice |
|---|---|---|
| Sound Zoning | Create distinct audio areas (e.g., patio, pool, garden). | Map out listening zones based on how you use the space. |
| Speaker Placement | Achieve balanced, even sound coverage without “hot spots.” | Position speakers for stereo imaging and mount them at ear level (around 10 feet high) when possible. |
| Wiring Strategy | Ensure a clean, safe, and durable installation. | Use direct-burial rated speaker wire (14- or 16-gauge) and run it through conduit where exposed. |
| System Integration | Connect seamlessly with your existing smart home or audio sources. | Choose an amplifier and control system (like Sonos) that supports easy streaming and multi-zone control. |
| Weatherproofing | Guarantee long-term performance in all seasons. | Select speakers with an IP rating of IP65 or higher to withstand rain, dust, and temperature changes. |
Each of these steps is crucial for a system that not only sounds incredible but also lasts for years.
The Growing Demand For Outdoor Audio
More homeowners are integrating these systems, reflecting a broader shift toward elevated outdoor living. The global outdoor speaker market was valued at USD 2.25 billion in 2023 and is projected to nearly double. This growth is driven by a desire for high-quality, durable audio that enhances outdoor gatherings.
A thoughtfully installed outdoor audio system does more than play music; it crafts an atmosphere. It’s the invisible element that makes a beautiful space feel truly alive and inviting.
For homeowners here in the Lehigh Valley, integrating audio is about creating a complete sensory experience. It’s a feature that works in concert with custom lighting, elegant hardscapes, and lush plantings. Proper installation ensures that technology enhances the natural aesthetic of your property.
To see how audio can be integrated without disrupting the design, check out this complete Lower Saucon outdoor oasis. This commitment to detail defines a premier outdoor living project in areas like Allentown and Coopersburg.
Selecting the Right Speakers for Your Space
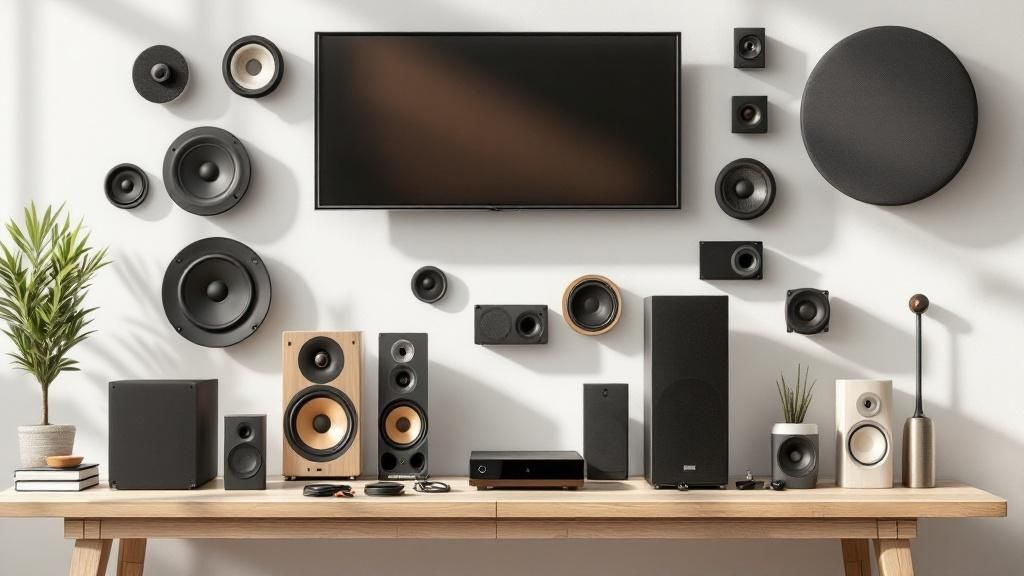
Choosing the right equipment is the foundation of any great outdoor audio system. Your selection will directly impact sound quality, aesthetics, and long-term durability. For most homeowners in Allentown and Coopersburg, the decision comes down to a few key types.
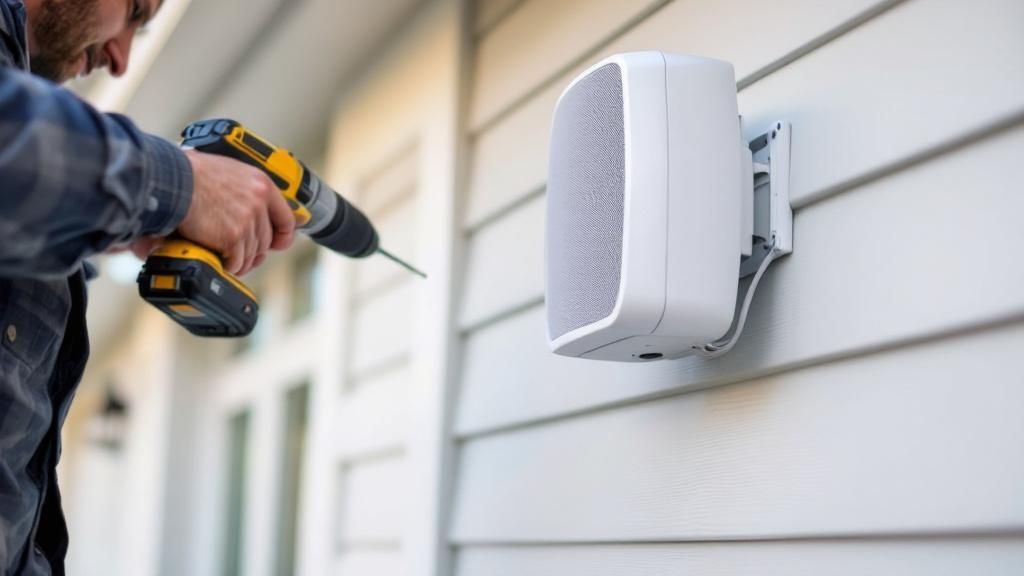
Traditional wall-mounted speakers are a popular choice. They attach directly to your home’s exterior, a pergola, or a deck railing, providing excellent sound projection over a defined area like a patio.
Another fantastic option is landscape speakers, designed to blend into your garden. These often look like rocks or small landscape lights, delivering immersive sound without interrupting the visual flow of your plantings and hardscapes.
Understanding Weather Resistance
For any permanent outdoor installation in the Lehigh Valley, weather resistance is non-negotiable. Our climate demands equipment that can handle everything from hot summers to deep winter freezes. This is where Ingress Protection (IP) ratings become crucial.
An IP rating has two numbers that tell you how well a speaker is protected against solids (like dust) and liquids (like rain).
- First Digit (Solids): A rating of 6 means the speaker is completely dust-tight.
- Second Digit (Liquids): A rating of 6 or 7 indicates it can withstand powerful water jets and even temporary immersion.
For a true “set it and forget it” system, look for speakers with an IP66 rating or higher. This ensures your investment is protected year-round, delivering flawless performance no matter the season.
Wired vs. Wireless Systems
The debate between wired and wireless often boils down to reliability versus convenience. While wireless technology has improved, a professionally installed wired system remains the gold standard for high-end outdoor audio.
Wired speakers are physically connected to an amplifier, ensuring a stable, high-fidelity signal that won’t drop due to a weak Wi-Fi connection. This reliability is why the North American outdoor speaker market, projected to hit USD 1.4 billion by 2029, sees such strong demand for permanent, wired installations. You can see more on this trend in the full outdoor speaker market report.
Wireless speakers offer easier initial setup but can struggle with connectivity over larger distances. For an integrated system that complements your landscape design—especially for features like high-end outdoor kitchens—a wired solution provides superior performance and peace of mind.
It’s the professional choice for creating a seamless and dependable outdoor entertainment experience.
Mastering Speaker Placement for Immersive Sound
Where you place your outdoor speakers is as critical as the quality of the speakers themselves. It’s the secret to creating a balanced, immersive sound field that blankets your entire outdoor living area. The goal is to make the music feel like it’s simply there, enhancing the atmosphere without creating loud “hot spots.”
For homeowners here in the Lehigh Valley, this means thinking beyond just mounting a pair of speakers on the wall. A professional approach considers the whole layout—your patio, pool deck, or garden—to deliver consistent, high-quality audio wherever you and your guests are relaxing.
Creating Stereo Imaging Outdoors
The first principle of great audio is building a proper stereo field. This is what gives music its depth and a sense of direction. For your primary listening area, like a patio, you should aim to create distinct left and right channels.
To do this, position the two main speakers so they form an equilateral triangle with the main listening spot. This classic technique ensures you experience the music exactly as the artist intended, with a full and engaging stereo sound.
Achieving Even Sound Coverage
For larger areas or general background music, the strategy shifts to even, widespread coverage. Blasting two speakers at high volume to cover a big yard is a common mistake. It leads to poor sound quality and unhappy neighbors.
A much better approach is using more speakers playing at a lower, comfortable volume. By strategically placing four or more speakers around the perimeter of a space, you create an enveloping soundscape where the music is clear everywhere without being disruptive. This is how you make a large outdoor space feel intimate and luxurious.
Professional Tip: We almost always mount speakers about 10 feet high and angle them downwards toward the listening area. This directs the sound exactly where you want it and helps keep it from traveling over fences to adjacent properties.
Common Placement Mistakes to Avoid
Knowing where not to place speakers is just as important. To get crystal-clear audio, be sure to sidestep these common pitfalls:
- Avoid Flat, Hard Surfaces: Never point speakers directly at the side of your house, a hardscape wall, or large glass windows. These surfaces reflect sound waves, which causes echoes and muddy, distorted audio.
- Don’t Place Them Too Low: Mounting speakers at ground level is another no-go. The sound gets muffled as it’s absorbed by furniture and landscaping. An elevated position is key for clear sound projection.
- Don’t Forget About Aesthetics: Sound is the priority, but the speakers should complement your landscape design. As you can see in some of our custom Bethlehem outdoor living projects, we integrate technology so it feels like a natural part of the environment.
A Professional’s Guide to Outdoor Speaker Wiring
Proper wiring is the heart of any great outdoor audio setup. It delivers crisp, clear sound while guaranteeing safety and long-term performance. For a professional-grade installation at your Lehigh Valley home, every detail matters—from the wire you choose to how you conceal it.
The most important decision is picking the right speaker wire. For any outdoor project, you must use direct-burial rated wire. This specialized cable comes wrapped in a tough, waterproof jacket that shields the internal copper from moisture, soil, and extreme temperatures.
Just as critical is selecting the right wire gauge, which is its thickness. In wiring, a lower gauge number (AWG) means a thicker wire. Thicker wires have less electrical resistance, which prevents signal loss over long distances and ensures clear sound.
Choosing the Correct Wire Gauge
The distance from your indoor amplifier to your furthest outdoor speaker dictates the gauge you’ll need. The longer the run, the thicker the wire should be.
Here’s a simple table to help you make the right choice based on your speaker’s impedance (ohms) and the length of the wire run.
Speaker Wire Gauge Selection Guide
Picking the right wire gauge is crucial for maintaining audio quality over distance. This guide helps you match the wire thickness (AWG) to your specific setup.
| Wire Run Length | Recommended Gauge (AWG) for 8-ohm Speakers | Recommended Gauge (AWG) for 4-ohm Speakers |
|---|---|---|
| Under 50 feet | 16-gauge | 14-gauge |
| 50 to 100 feet | 14-gauge | 12-gauge |
| 100 to 200 feet | 12-gauge | 10-gauge |
Notice how 4-ohm speakers, which draw more current, demand a thicker wire. When in doubt, it’s always smart to go with a thicker gauge for the best possible performance.
Routing and Concealing Wires Professionally
Once you have your wire, the craft begins: routing it cleanly from your indoor gear to the outdoor speaker locations. The goal is to make the wiring disappear, protecting the clean lines of your hardscaping and landscaping. This almost always involves drilling through an exterior wall.
To get a perfect, weatherproof seal when running a wire through a wall, always drill from the inside out at a slight downward angle. This simple trick prevents water from wicking along the cable into your home. Afterwards, seal the hole on both sides with outdoor-rated silicone caulk.
A good automatic cable and wire stripper is a lifesaver here, making it easy to get clean, perfect connections every time.
To run wires across your yard, we create a shallow trench, just 4-6 inches deep, along the edge of a garden bed or walkway. After laying the direct-burial cable, we backfill the trench, and the wire vanishes, safely protected from foot traffic.
This image shows the final steps of testing and tuning your system after all the wiring is complete.
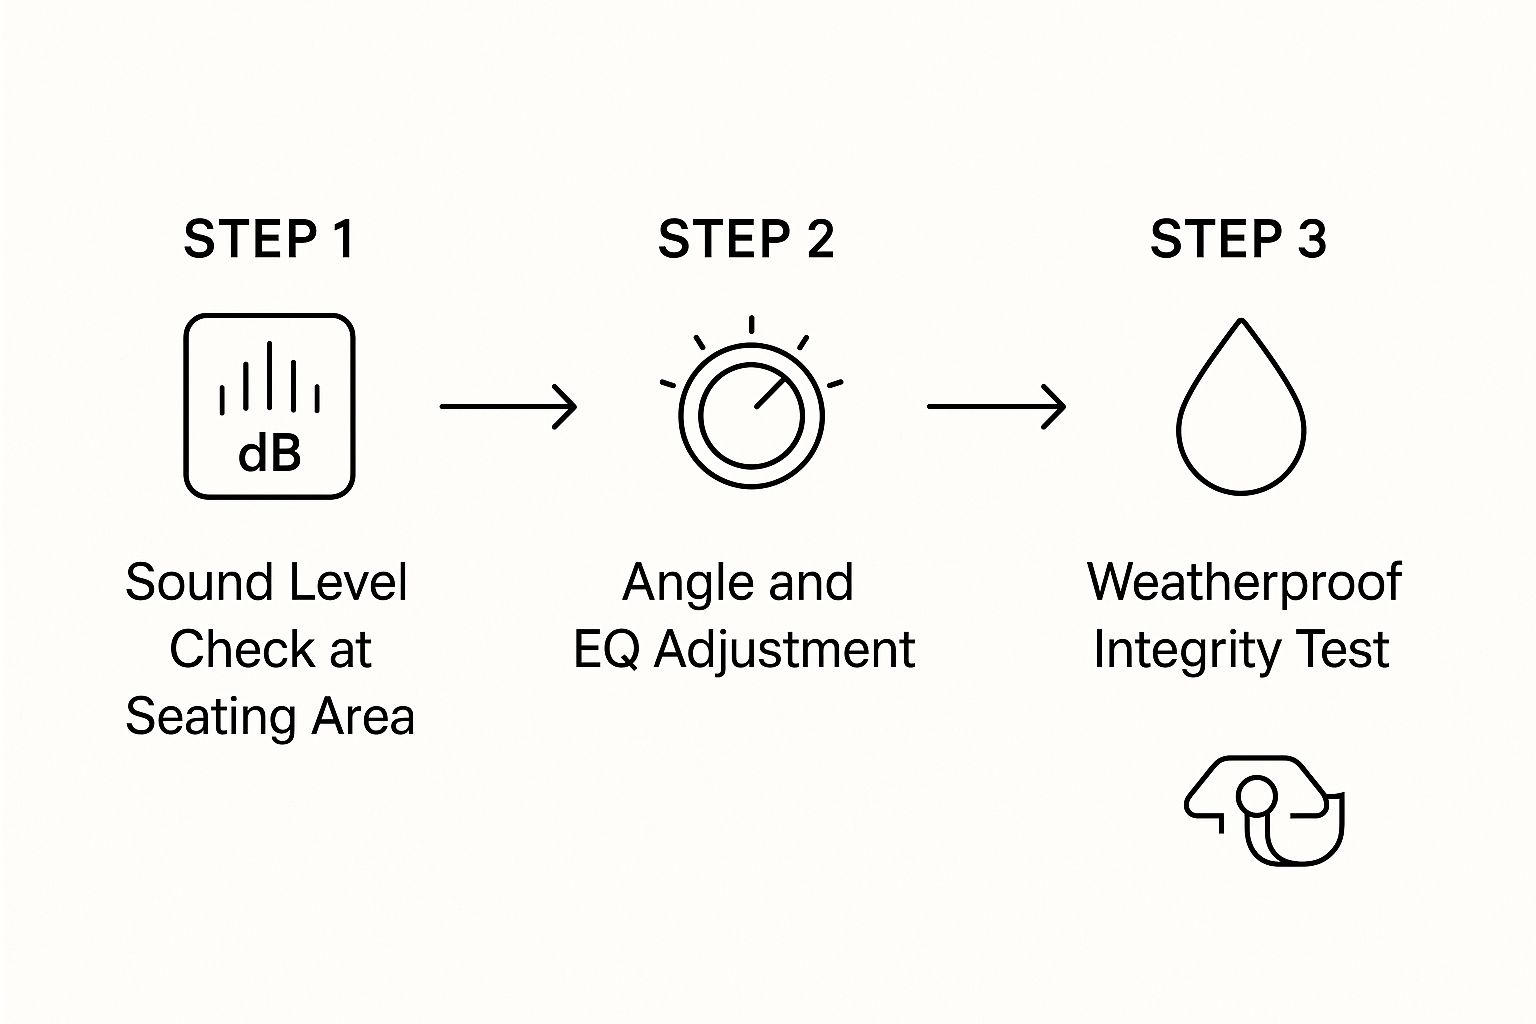
This meticulous process ensures every speaker is perfectly dialed in to deliver incredible sound. Professional installation of both outdoor lighting and audio systems follows these exact steps to create a seamless, immersive, and enjoyable outdoor experience.
Connecting and Testing Your New Audio System
With your speakers mounted and wires concealed, it’s time to bring your new outdoor audio system to life. This is the moment where careful planning pays off, transforming individual components into a cohesive, immersive sound experience for your Lehigh Valley home. It starts with making the final connections at your amplifier.
Connecting speaker wires to an amplifier is straightforward, but one detail is absolutely critical: polarity. Each speaker wire has positive (+) and negative (-) conductors. You must ensure the positive terminal on your speaker connects to the positive terminal on the amplifier, and the same for the negative. Reversing this causes phase cancellation, resulting in thin, weak bass.
The First Listen and System Test
Once everything is connected, it’s the moment of truth. A quick, systematic test will confirm every part of your installation is working perfectly. This simple check can save you major headaches down the road.
We recommend running through a quick checklist to verify performance:
- Check Each Speaker: Start the music at a low volume and walk around to each speaker. Is sound coming from every single one?
- Listen for Distortion: Slowly turn up the volume. The audio should stay clear. Any crackling or distortion often indicates a poor connection.
- Confirm Stereo Channels: Use a stereo test track to ensure your left and right channels are wired correctly. This is key for creating an immersive sound field.
If one speaker is silent, the most common culprit is a loose connection at the speaker or amplifier. Double-check that the wire is securely fastened.
Balancing and Tuning for Outdoor Spaces
Now for the fine-tuning. The goal is to create a balanced audio experience across all zones—the patio, pool, and garden should feel connected. Use your amplifier’s zone controls to adjust the volume for each area independently until the sound feels even and comfortable.
An outdoor audio system should create an atmosphere, not a distraction. The best setups deliver rich, full sound at a volume that still allows for easy conversation, making your outdoor space in Allentown or Center Valley feel truly luxurious.
This final tuning is a critical part of the professional services we provide, ensuring your system performs at its absolute peak. The outdoor speaker market is expected to hit USD 2.45 billion by 2033, showing how crucial high-quality audio has become to modern outdoor living. You can find more details in this outdoor speaker market analysis.
With a properly connected, tested, and balanced system, you’re ready to enjoy incredible sound in your custom-designed outdoor oasis.
Frequently Asked Questions
How much does a professionally installed outdoor speaker system cost?
The investment depends on the quality of the speakers, the number needed to cover your space, and the complexity of the wiring. A high-end patio setup can start at a few thousand dollars, while larger properties with multiple zones will require a more significant investment. We design systems that deliver incredible sound while respecting your budget.
Can outdoor speakers be left out during a Pennsylvania winter?
Yes, absolutely. High-quality outdoor speakers are built for permanent installation and are engineered to handle our region’s temperature swings, snow, and ice. We use speakers with high IP (Ingress Protection) ratings, so you never have to take them down.
How do you hide speaker wires in an outdoor living space?
A clean, invisible installation is our signature. We use direct-burial rated speaker wire placed in shallow trenches just a few inches deep. By tucking trenches along garden bed edges or behind retaining walls, the wiring disappears into the landscape.
Do I need a special amplifier for outdoor speakers?
While a standard indoor receiver can work, a dedicated multi-zone amplifier provides much better results for serious outdoor sound. Outdoor spaces have no walls to contain sound, so a dedicated amplifier ensures your speakers get enough clean power to produce full, clear audio that overcomes ambient noise without distortion.
How do you get good sound quality across a large backyard?
The secret to great sound in a large backyard isn’t about volume—it’s about smart design. Instead of blasting music from one or two speakers, we install multiple speakers placed around the perimeter of the listening area. This creates a rich “blanket” of sound at a comfortable volume, allowing for conversation.
What is the design process for an integrated audio system?
Our design process begins with understanding how you use your outdoor space. We map out key listening zones, select speakers that match your landscape’s aesthetic, and create a wiring plan that is completely invisible. The goal is to make technology feel like a natural, seamless part of the environment.
How long does an outdoor speaker installation take?
The timeline for installing an outdoor audio system depends on the project’s complexity. A straightforward patio system might be installed in a day, while a multi-zone system integrated into a larger hardscape project in Center Valley or Allentown will be part of the overall construction schedule. We coordinate all aspects to ensure a smooth and efficient process.
Ready to transform your outdoor space with a seamlessly integrated, high-end audio system? The team at Kennedy Design + Build specializes in crafting breathtaking landscape and hardscape designs for discerning homeowners across the Lehigh Valley. We integrate technology like audio and lighting to create outdoor living areas that are as functional as they are beautiful.
Schedule your design consultation with Kennedy Design + Build today.